Guide
Pit descent strategy: go deep, bank well
The Pit is Cromon Quest's ranked descent on Cronos, open one week in two: a crew of 3 to 20 Cromons, waves of three enemies whose stats climb 0.5 per floor, a champion on every floor ending in 5 and a boss every 10, wounds that carry and knockouts that are final. Loot rides in a sack that is only yours when you bank, and the board ranks the deepest floor banked, then how far into the next floor you got. Good strategy is arithmetic: knowing the stat band of floor 20 before you are on it, spending the two descents of a Pit differently, using the one free flask at the right wave, and buying the Camp's Pit buildings in the right order. Since 7 September 2026 the Pit runs on a fortnight calendar: it opens on a Monday at 00:00 UTC, closes seven days later, and the next one opens a week after that.
How hard is each floor, in numbers?
Every enemy is a real species from the catalog, three distinct ones per wave, so the type chart applies exactly as in the Arena. Each of its six stats is rolled between 3 + 0.5 × floor and 6 + 0.5 × floor, rounded, both ends capped at 40: floor 1 is 4 to 7, floor 10 is 8 to 11, floor 20 is 13 to 16, floor 30 is 18 to 21, floor 40 is 23 to 26, floor 50 is 28 to 31. Compare that with your crew: a starter sits at 8 on every stat, a Premium Rift floor at 13, an Ultra floor at 20, and Cromite adds up to 10. A champion adds 2 to both ends of the band and is always a single element. A boss is one enemy fought 3v1 with its stats multiplied by 1.25 and an HP pool of 58 per floor: 580 HP on floor 10, 1740 on floor 30, 2900 on floor 50, and it hits every survivor with its rage when the 30-round limit runs out. A regular wave has a 30% chance of being mono-element, which is where a trio covering three types earns its keep.
What carries between waves, and what does a flask heal?
Both sides bleed. Your crew's HP persists from floor to floor and a Cromon at 0 HP is knocked out for the rest of the descent; the enemies' HP persists too, and an enemy you knocked out in a lost attempt stays down when you retry the floor. That second half is the lever: a floor you cannot clear in one attempt can be worn down over two or three, at 1 energy each, out of a pool of 10 that refills one point an hour. Every attempt you field three Cromons from the bench (or everyone still standing when fewer are left), so a crew of six lets you rotate wounded fighters out. Flasks heal every living member to full but never revive a knockout: the first is free, the next cost 400 and 800 Shards, and 3 is the limit per descent. Spend the free one right before a boss floor, not after it, because a boss fight lost at low HP is a wipe waiting to happen, and a wipe loses the whole sack. Remember that Cromite counts in the crew snapshot and shop percentage boosts do not.
When should I bank?
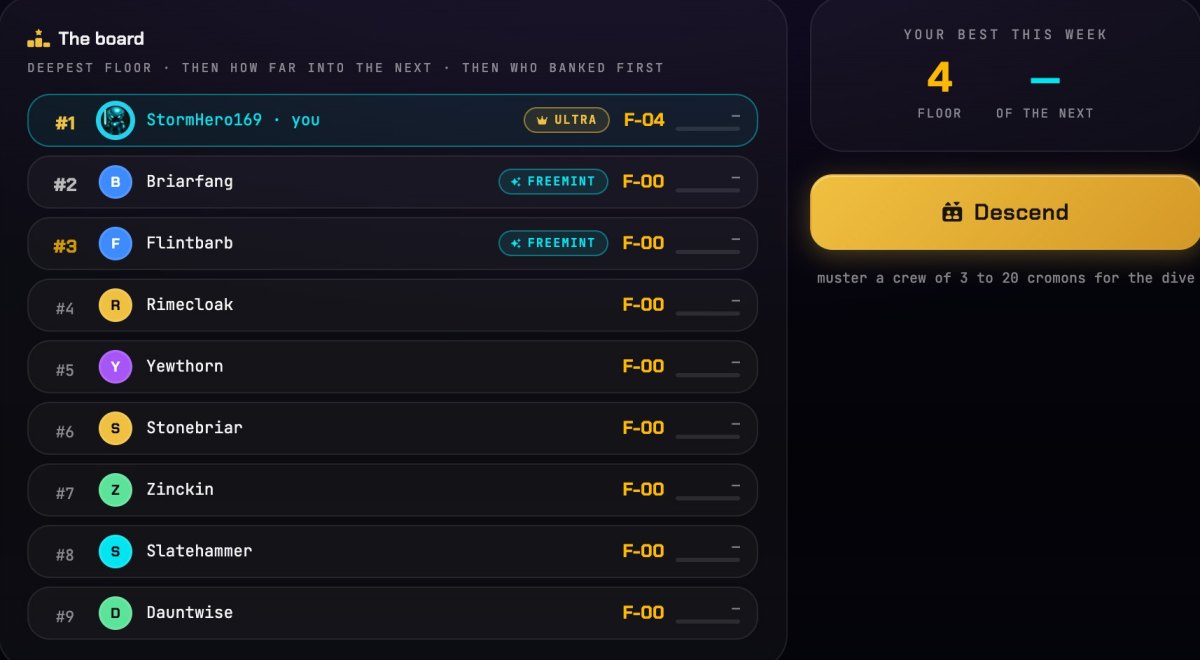
The board scores three things in order: the deepest floor you banked, then your progress into the next floor, then who banked that score first. Progress is the share of the pending floor's HP pool you have already removed (the boss's pool, or the sum of the team's max HP), read from the enemies' persisted wounds, so a floor you engaged and half-cleared counts even if you then bank. A wipe never scores. That gives the rule: bank when the next floor's band exceeds what your three best fielders can trade with, after taking one attempt at it if you have energy to spare, because that attempt adds progress without risking the sack as long as at least one member survives it. A knocked-out attempt is not a wipe; only a bench with nobody left is. Milestones pay once per week, so the second descent should be the deep one: descent 1 at a steady pace to bank the shallow floors and learn the week's waves (everyone faces the same floors at descent 1, and other floors at descent 2), descent 2 with the Express Lift, skipping what is already banked and pushing for the board.
What do the milestones add up to?
Cumulative, banked once per Pit: 520 Shards and 18 CroCoin by floor 10; 1,800 Shards, 72 CroCoin and 1 Pit Ember by floor 20; 3,850, 155 and 4 by floor 30; 6,200, 243 and 8 by floor 40; 8,900, 368 and 11 by floor 50; 10,550, 443 and 13 for the whole ladder. Every won wave also pays 30 XP plus 10 per floor, credited live through the shared daily cap, so XP is kept even on a wipe. Banking at floor 50 or deeper grants the permanent "Abyss Walker" title. The podium, top three humans by the board with bots excluded, pays 500, 1,300 and 550 Shards, 280, 140 and 70 CroCoin, a Pit Ember and the "Pit Lord" title for the winner, and settles 4 hours after the Monday 00:00 UTC close.
How do the free mints, the tickets and the draw work?
Two ways to a free NFT mint per Pit. The podium: the top 3 on the board win Ultra, Ultra, Premium Rifts in that order. The draw: winning the wave of floor 10, 20, 30, 40, 50 earns one draw ticket per floor, once per Pit and kept through a wipe, and 3 Premium free mints are drawn among every ticket at the settle, one lot per Keeper, the podium included. Strategy-wise that changes the first descent: banking at floor 19 leaves a ticket on the table that floor 20 would have paid, so when the sack is safe and energy remains, the floor ending in 0 is worth one more attempt, because the ticket is yours the moment the wave is won even if the crew wipes on the next one. The draw is committed before the first ticket (the seed's SHA-256 hash is in the lobby on opening day, the seed is revealed at the settle, the ticket list is public) and replayable by anyone; the mode page spells out the formula.
Which Pit buildings should I buy first?
Three Camp buildings exist for this mode, paid in Shards, CroCoin and, from their upper levels, Pit Embers. The Field Infirmary (level 1 at 1,500 Shards and 75 CroCoin) releases a knocked-out crew member to the other modes after 24 hours, then 12, 4 and 0 at higher levels, never to the marketplace and never back into the descent; it is the first buy for anyone who fields their Arena team in the Pit. The Rail Switch (level 1 at 2,500 Shards and 120 CroCoin) re-rolls the current floor onto a second rail, before engaging or after a loss, 1 to 3 times per descent by level, at the price of the wounds you had dealt on that floor: the tool against a mono-element wave that counters your whole crew. The Express Lift (level 1 at 3,000 Shards and 150 CroCoin) opens a descent at floor 2, then 4, 6 and 8 by level, so the first wave you fight is floor 3, 5, 7 or 9: it saves energy, but the skipped floors pay no milestone and no XP on that descent, so use it on the second descent, after the first has banked floors 2 to 8.
What does a good crew look like?
Six to nine Cromons, not twenty: enough to rotate three fielders out when wounded, few enough that you are not locking your whole roster out of the Arena, the mines and expeditions for the week. Cover at least three elements, because a 30% mono-element wave and every champion punish a single-type crew. Favour HP and Defense over Critical here: the Pit runs the technique-free engine, wounds carry, and a fighter that survives floor 20 at half HP is worth more than one that crits once and goes down. Apply Cromite to the three you will field most, since the snapshot takes it and ignores shop boosts. And keep the crew's marketplace plans for after the bank: a mustered Cromon cannot be listed until the descent ends, and a listed one cannot descend.
Muster a crew and descend
Free to start: connect your wallet, receive three starter Cromons, and take them down for the first milestones.